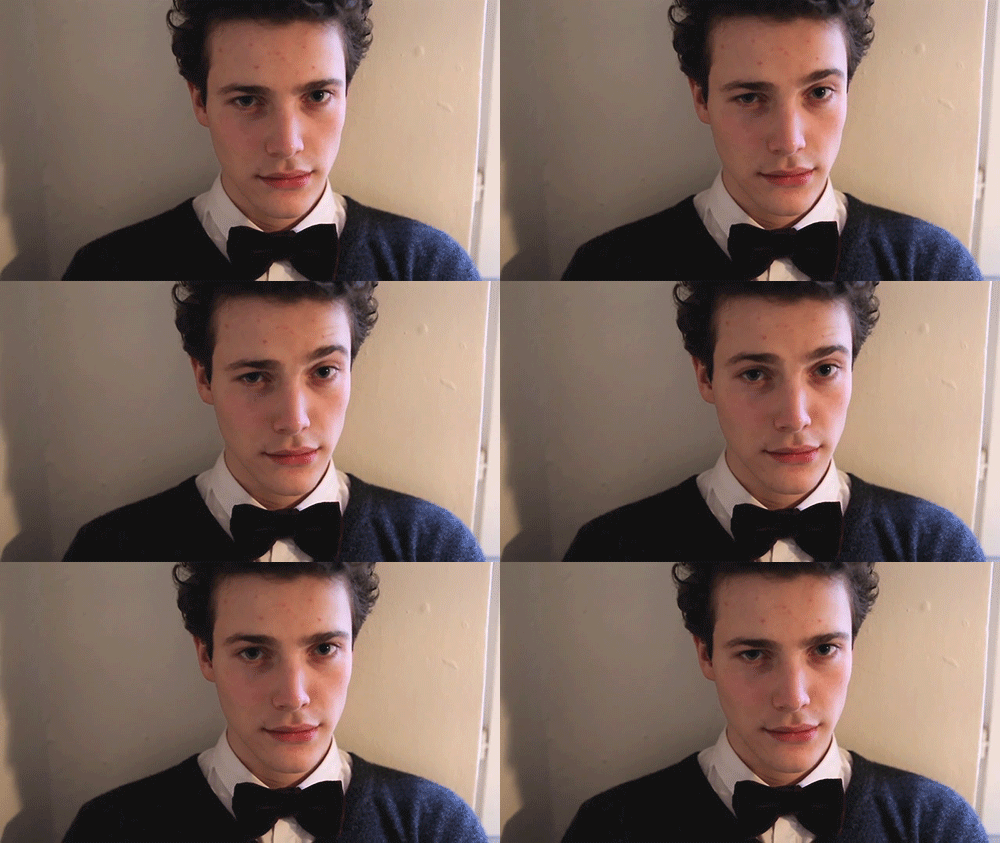


How to go from
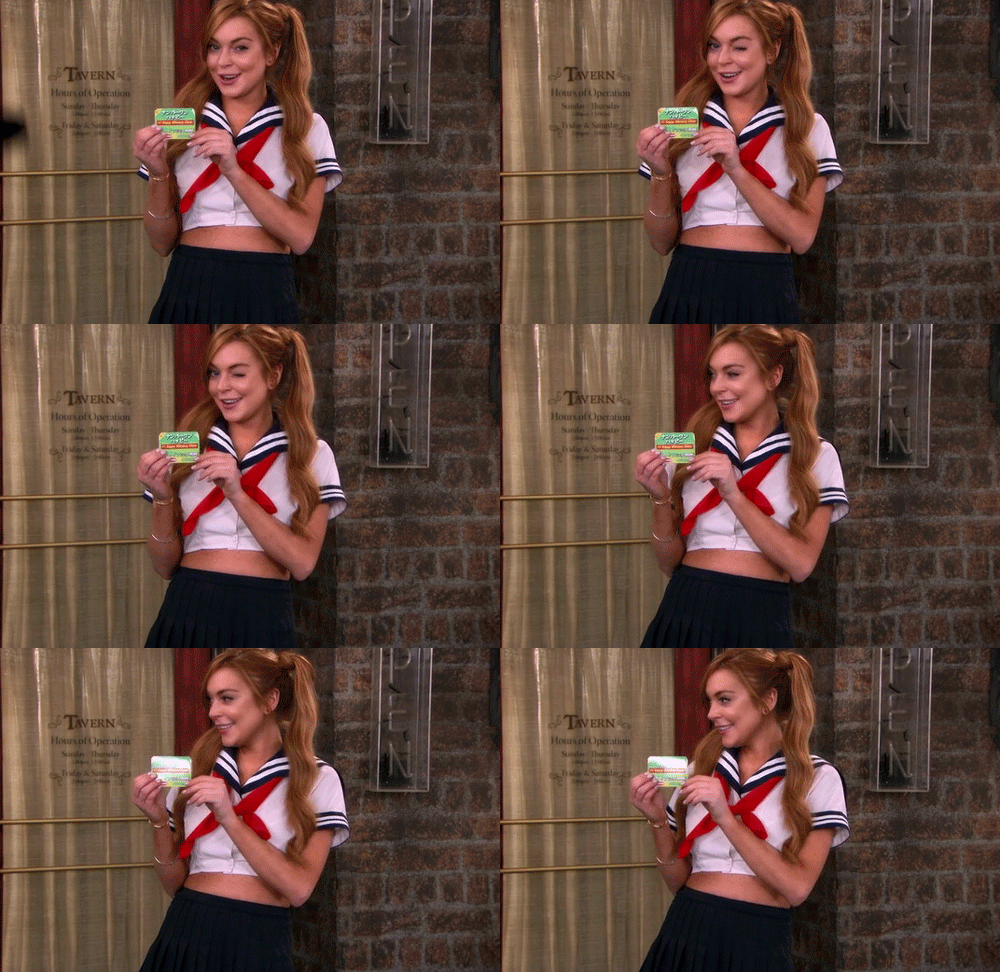
 to
to 
ภาพออริจินัล

1.Open image and crop it
2. Go to Layer > New Adjustment Color > Curves
Channel : Red
Input : 126, Output : 152
Channel : Green
Point one: Input : 161, Output : 167
Point two: Input : 125, Output : 133
Point three: Input : 84, Output : 116
Channel : Blue
Input : 130, Output : 120

3. Go to Layer > New Adjustment Color > Curves
Channel : RGB
Point one: Input : 172, Output : 149
Point two: Input : 83, Output : 56
Channel : Red
Point one: Input : 200, Output : 211
Point two: Input : 56, Output : 79
Channel : Blue
Point one: Input : 193, Output : 174
Point two: Input : 126, Output : 130
Point three: Input : 58, Output : 68

4. Go to Layer > New Fill Layer > Solid Color
Fill it with # 142844 and set it to Exclusion opacity 40%

5. Go to Layer > New Adjustment Color > Brightness and Contrast
Brightness : -5
Contrast : +7

6. Go to Layer > New Adjustment Color > Levels
Channel : Red
Output Levels : 17, 255
Channel : Blue
Output Levels : 12, 231

7.Duplicate base, set it to Screen opacity 100%

8.Duplicate base again and set it to Screen opacity 84%

9. Go to Layer > New Adjustment Color > Color Balance
Midtones: +11, +6, -13
Shadows: +3, +7, +16
Highlights: -5, +2, +6

10. Go to Layer > New Adjustment Color > Curves
Point one: Input : 126, Output : 124
Point two: Input : 59, Output : 53

11. Go to Layer > New Fill Layer > Solid Color
Fill it with # 290e00 and set it to Screen opacity 57%

12. Go to Layer > New Adjustment Color > Color Balance
Midtones: +22, +31, +21
Shadows: -46, -49, -30
Highlights: -3, 0, -1

13. Go to Layer > New Fill Layer > Solid Color
Fill it with # d8cebf and set it to Color opacity 100%, fill 13%

14. Go to Layer > New Fill Layer > Solid Color
Fill it with # c47cb2 and set it to Soft Light opacity 23%

15. Go to Layer > New Adjustment Color > Color Balance
Midtones: +10, -5, -10

16. Go to Layer > New Adjustment Color > Selective Color
Neatrals: 0, 0, 0, -11
Blacks: 0, 0, 0, +5

17. Go to Layer > New Adjustment Color > Hue/Saturation
Master: 0, +5, +3

18. Duplicate base, go to Adjustments > Desaturate set it to Soft Light opacity 27%
Finished!!
ไฟล์ PSD
ปล. เพื่อเพิ่มความโดดเด่น อย่าลืม sharpen บริเวณตาและปากนะคะ แต่อย่าให้มันเลิศหล้าเกินส่วนอื่นบนหน้า เดี๋ยวมันจะไม่เนียนค่ะ
จริงๆแล้ว ชอบผลลัพธ์ในสเต็ปที่ 13 ที่สุด มันดูลงตัวกว่าสเต็ป 18 อ่ะค่ะ ฉะนั้นจะหยุดทำตรงสเต็ปไหนก็ได้ขึ้นอยู่กับความพึงพอใจ ที่สำคัญอย่าลืมปรับนู่น ผสมนี่ ตามความชอบนะคะ
ปล.2 ไม่เข้าใจถามได้ค่ะ
ขอให้สนุกกับการทำ Photoshop ค่ะ
_________________